Rust on brake rotors is a common issue, especially in humid climates or after prolonged vehicle inactivity. While surface rust often burns off during normal driving, heavy corrosion can reduce braking efficiency and cause noise. If you’re dealing with stubborn rust, these advanced DIY methods can help restore your rotors without expensive replacements.
Why Brake Rotor Rust is a Problem
Brake rotors are made of cast iron, which is prone to oxidation when exposed to moisture. While light rust is normal, excessive corrosion can lead to:
- Reduced braking performance – Rust creates an uneven surface, decreasing friction.
- Grinding or squealing noises – Corrosion can cause vibrations and noise when braking.
- Premature wear on brake pads – Rough rotor surfaces accelerate pad deterioration.
If your rotors have deep pitting or severe rust, replacement may be necessary. However, moderate rust can often be removed with the right techniques.
Tools & Materials You’ll Need
Before starting, gather these supplies:
- Safety gear (gloves, eye protection)
- Jack and jack stands (for wheel removal)
- Lug wrench
- Wire brush or angle grinder with wire wheel
- Sandpaper (80-120 grit for heavy rust, 220+ for finishing)
- Brake cleaner spray
- Anti-seize lubricant (for reassembly)
- Torque wrench
- Bench grinder (optional, for severe rust removal)
Step-by-Step Rust Removal Methods
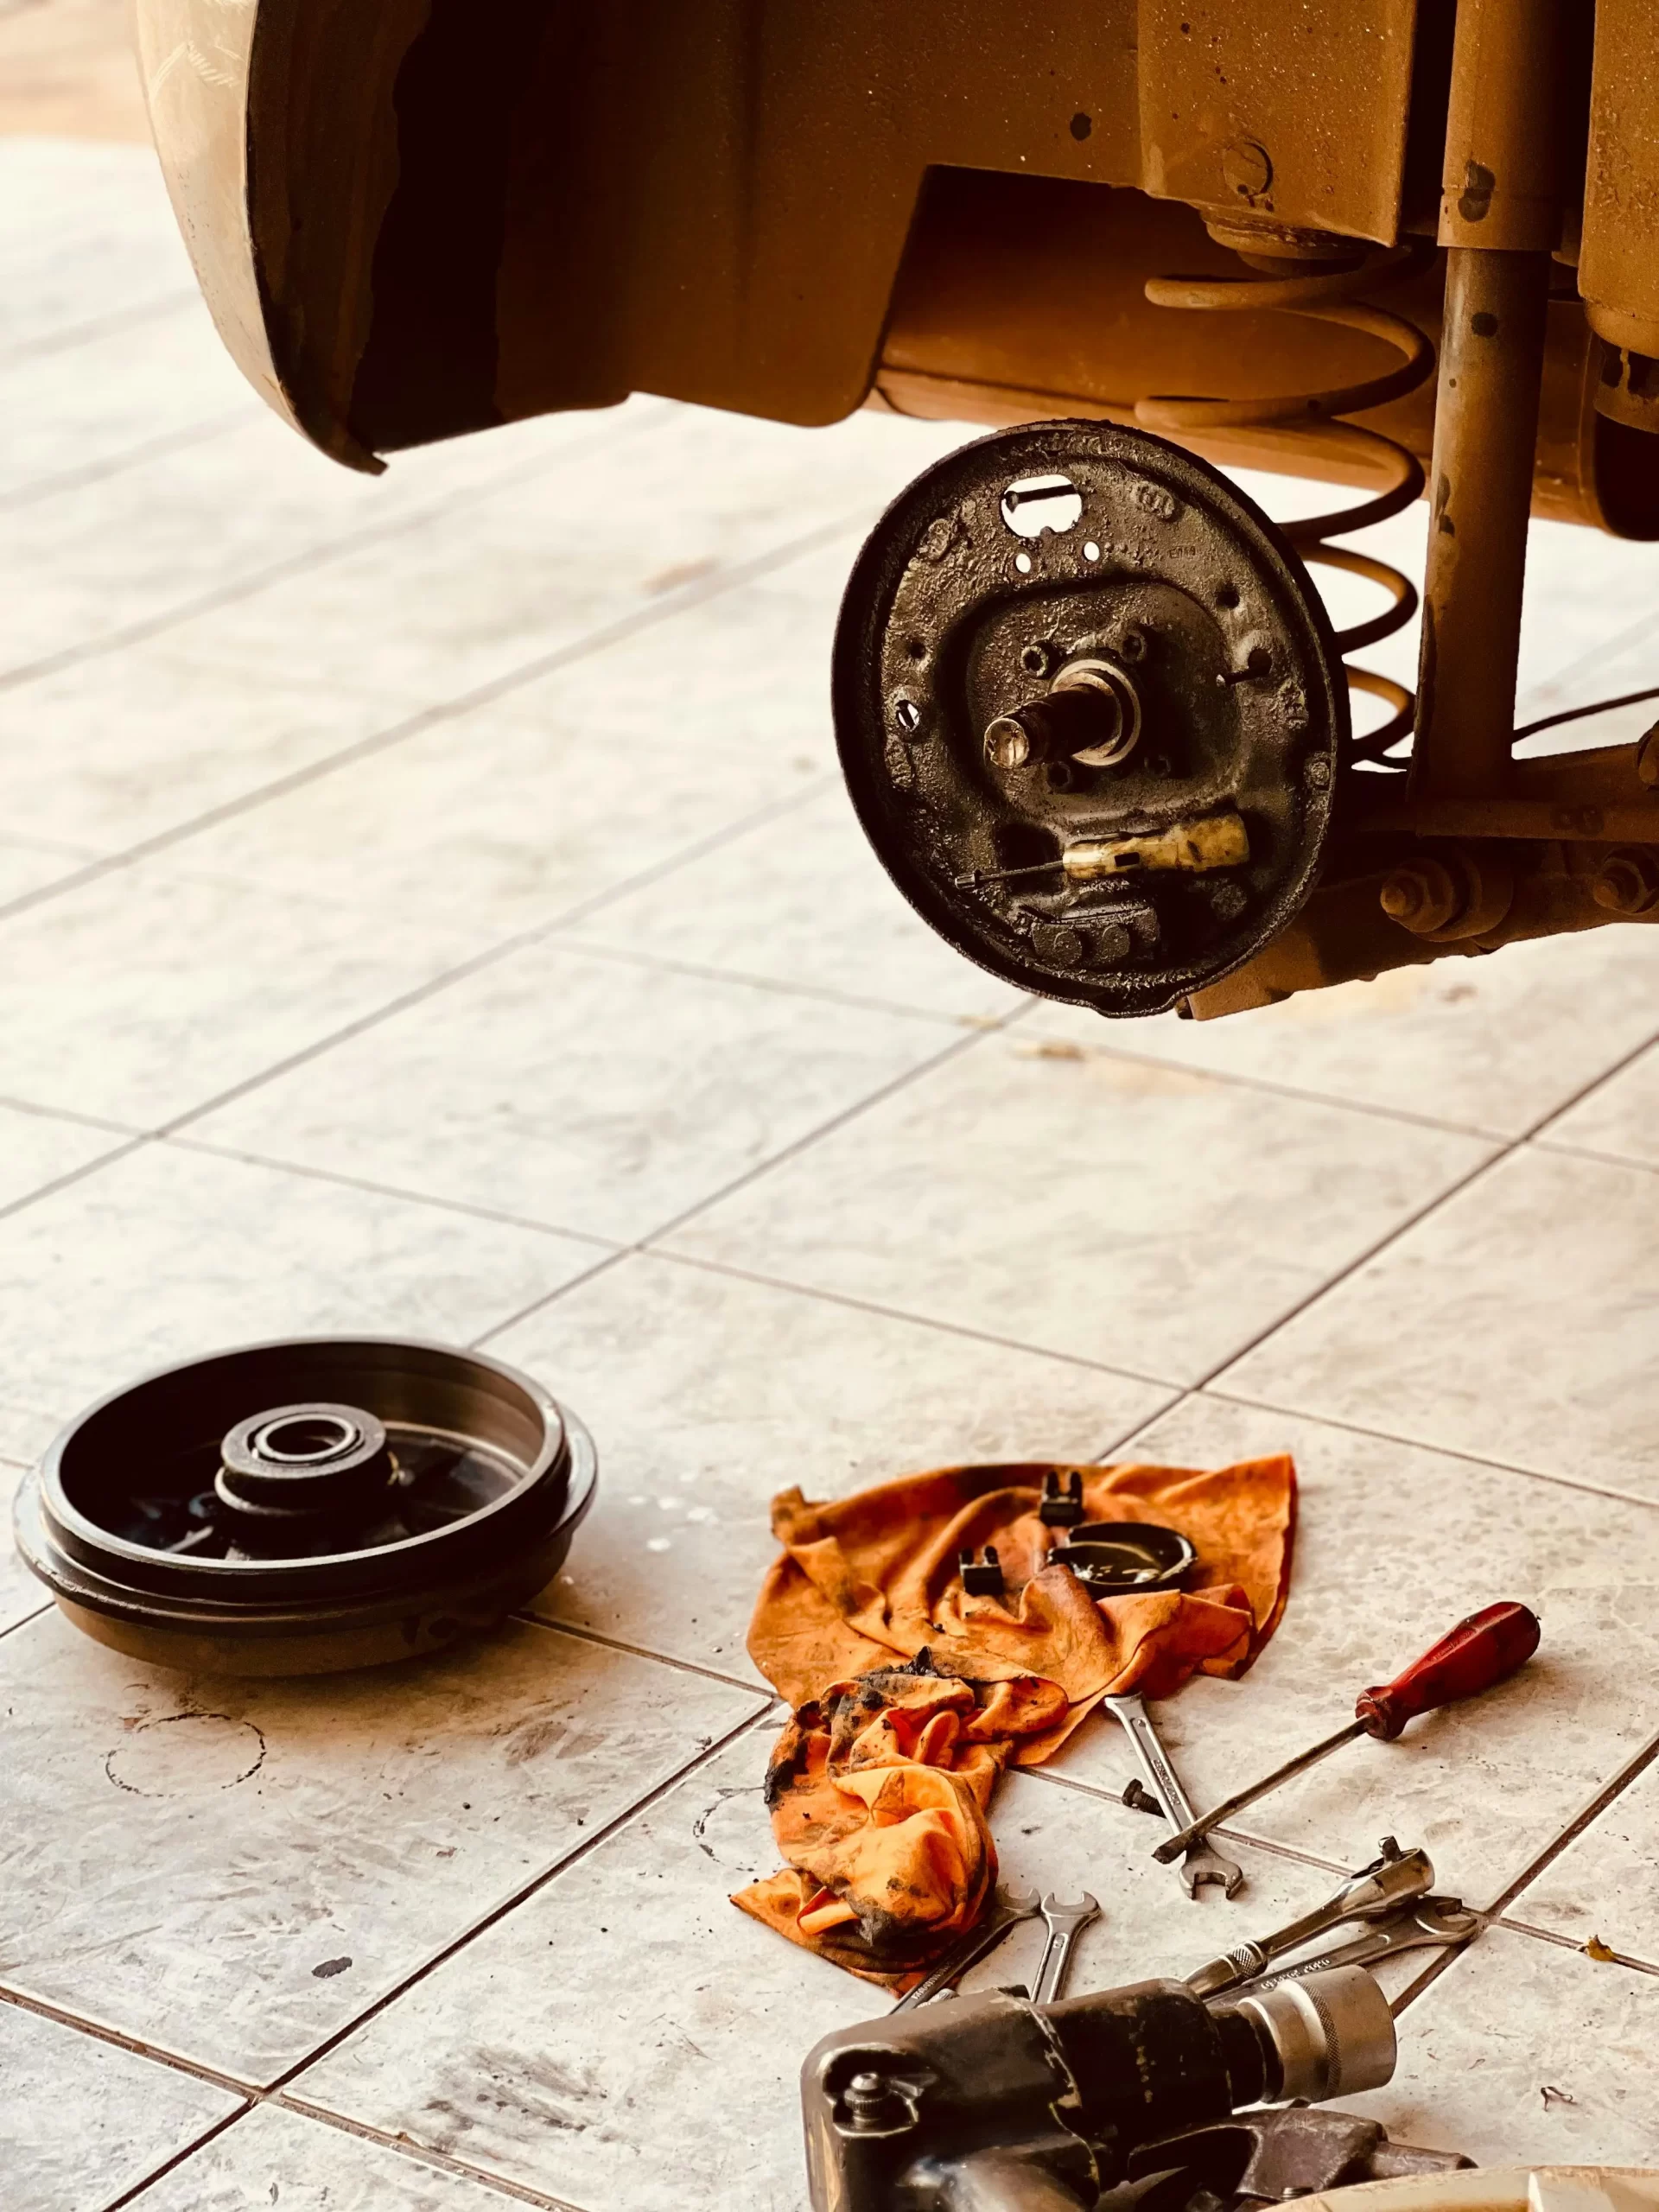
1. Remove the Wheel & Inspect the Rotor
- Safely lift the car and remove the wheel.
- Check the rotor for deep grooves or excessive pitting—if damage is severe, replacement is better than restoration.
2. Clean with a Wire Brush or Wheel
- Use a stiff wire brush or angle grinder with a wire wheel to scrub off loose rust.
- Focus on the braking surface and rotor edges.
3. Sanding for a Smoother Finish
- For moderate rust, use 80-120 grit sandpaper in a circular motion.
- For final smoothing, switch to 220+ grit sandpaper.
- Wipe away dust with brake cleaner (never use oil-based cleaners).
4. Using a Bench Grinder (For Severe Rust)
- If rust is deeply embedded, carefully use a bench grinder with a wire wheel or abrasive disc.
- Work evenly to avoid overheating or warping the rotor.
5. Apply a Rust Inhibitor (Optional)
- After cleaning, spray a rust inhibitor (like WD-40 Specialist Corrosion Inhibitor) on non-braking surfaces.
- Never apply lubricants to the braking surface!
6. Reinstall the Rotor & Wheel
- Ensure all rust debris is cleared.
- Apply anti-seize lubricant to wheel studs to prevent future corrosion.
- Torque lug nuts to manufacturer specifications.
Preventing Future Rust Buildup
To minimize rotor rust:
✅ Drive Regularly – Frequent use keeps rotors clean.
✅ Wash Your Car (Including Wheels) – Remove road salt and moisture.
✅ Use Coated or Slotted Rotors – More resistant to rust.
✅ Store Your Car Properly – Use a dry garage or moisture absorbers.
When to Replace Instead of Clean
If your rotors exhibit:
- Deep grooves or cracks
- Extreme thinning (below minimum thickness)
- Severe pitting that sanding can’t fix
…then replacement is the safest option.
Final Thoughts
With these advanced DIY methods, you can effectively remove brake rotor rust and restore smooth braking. While light rust is normal, heavy corrosion should be addressed promptly to maintain safety. If unsure, consult a mechanic for a professional assessment.


Leave a Reply